
EASY Lantern DIY: upjers in soft candlelight

Who doesn’t know the magical St Martins Day, when children go out in the evening with their self-made lanterns and fill the streets with laughter and soft light? If you’re anything like us, then you’ll probably wish for the same ambiance at home or the office sans the cold weather. Because we at upjers can’t live without the soft lantern ambiance, we would like to share our lantern DIY idea with you! The materials are pretty common, so you probably already have them on hand.
What you need for the Table-Lantern project:
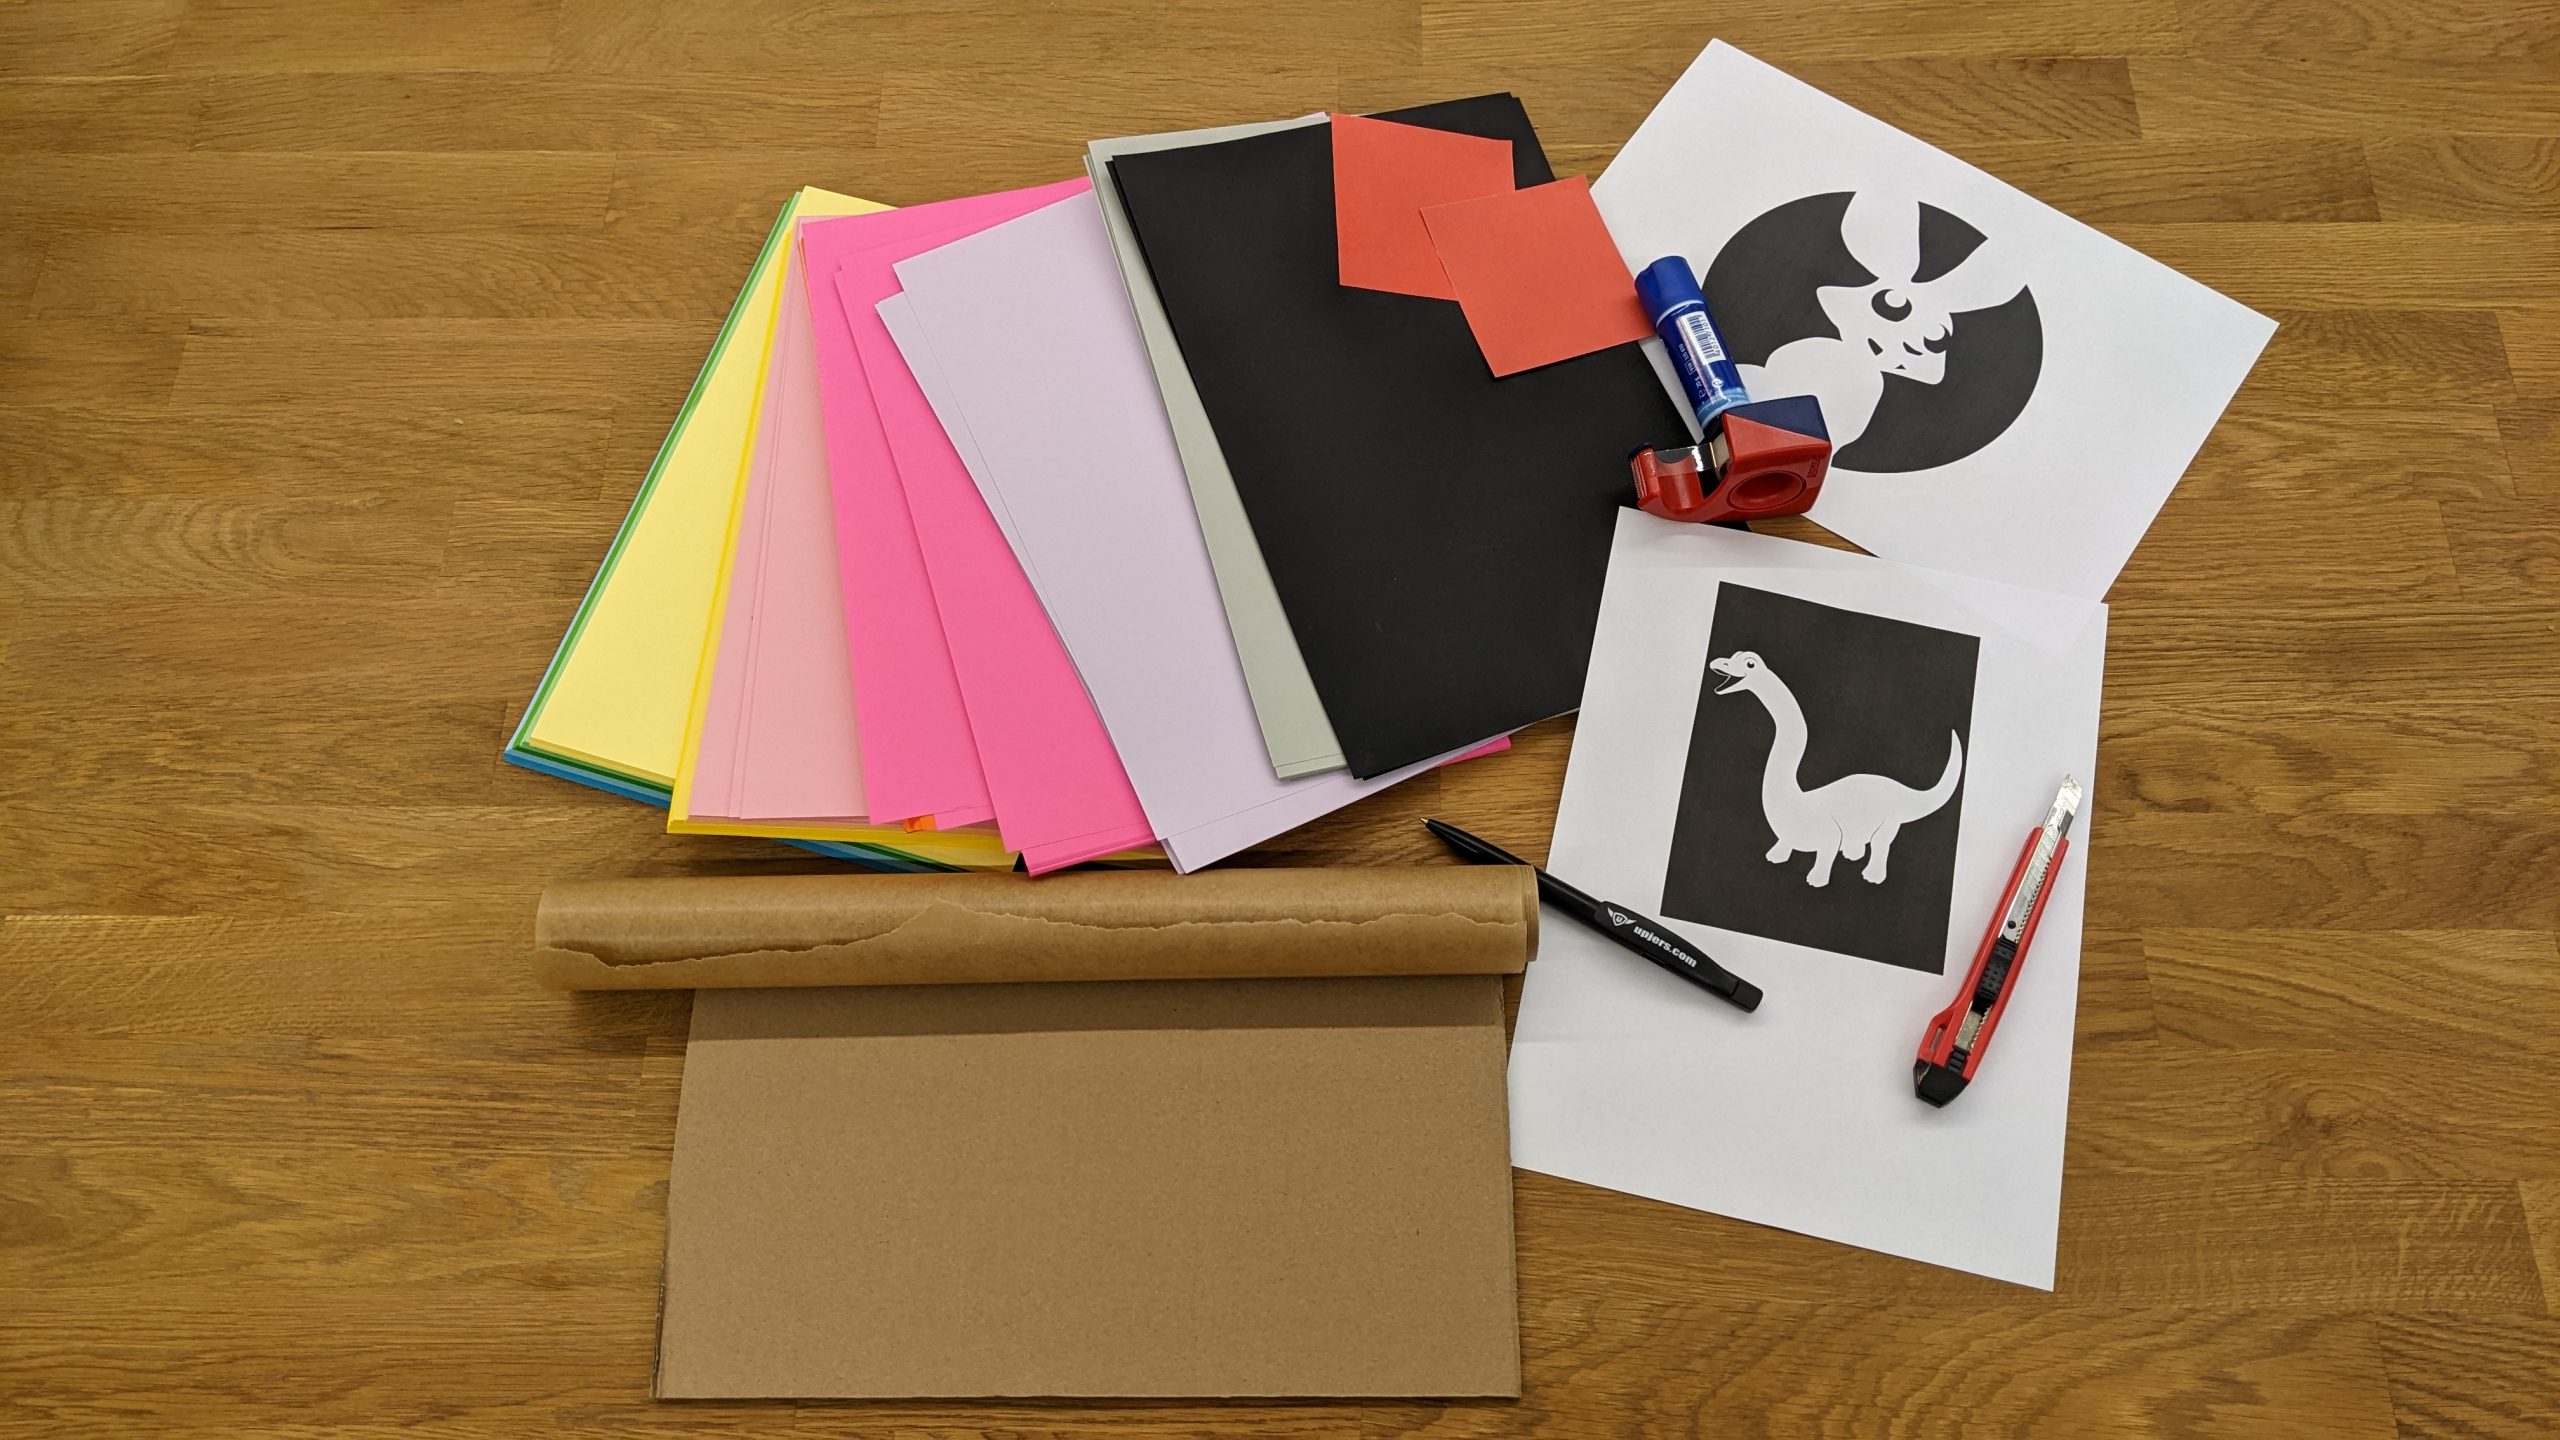
- Craft Paper
- Parchment/ sandwich paper
- Carton
- Pen
- Scissors/cutter
- Glue stick/ tape
- Tealight
- Optional: Printer
- Optional: colored pens
1.Cut the paper to size
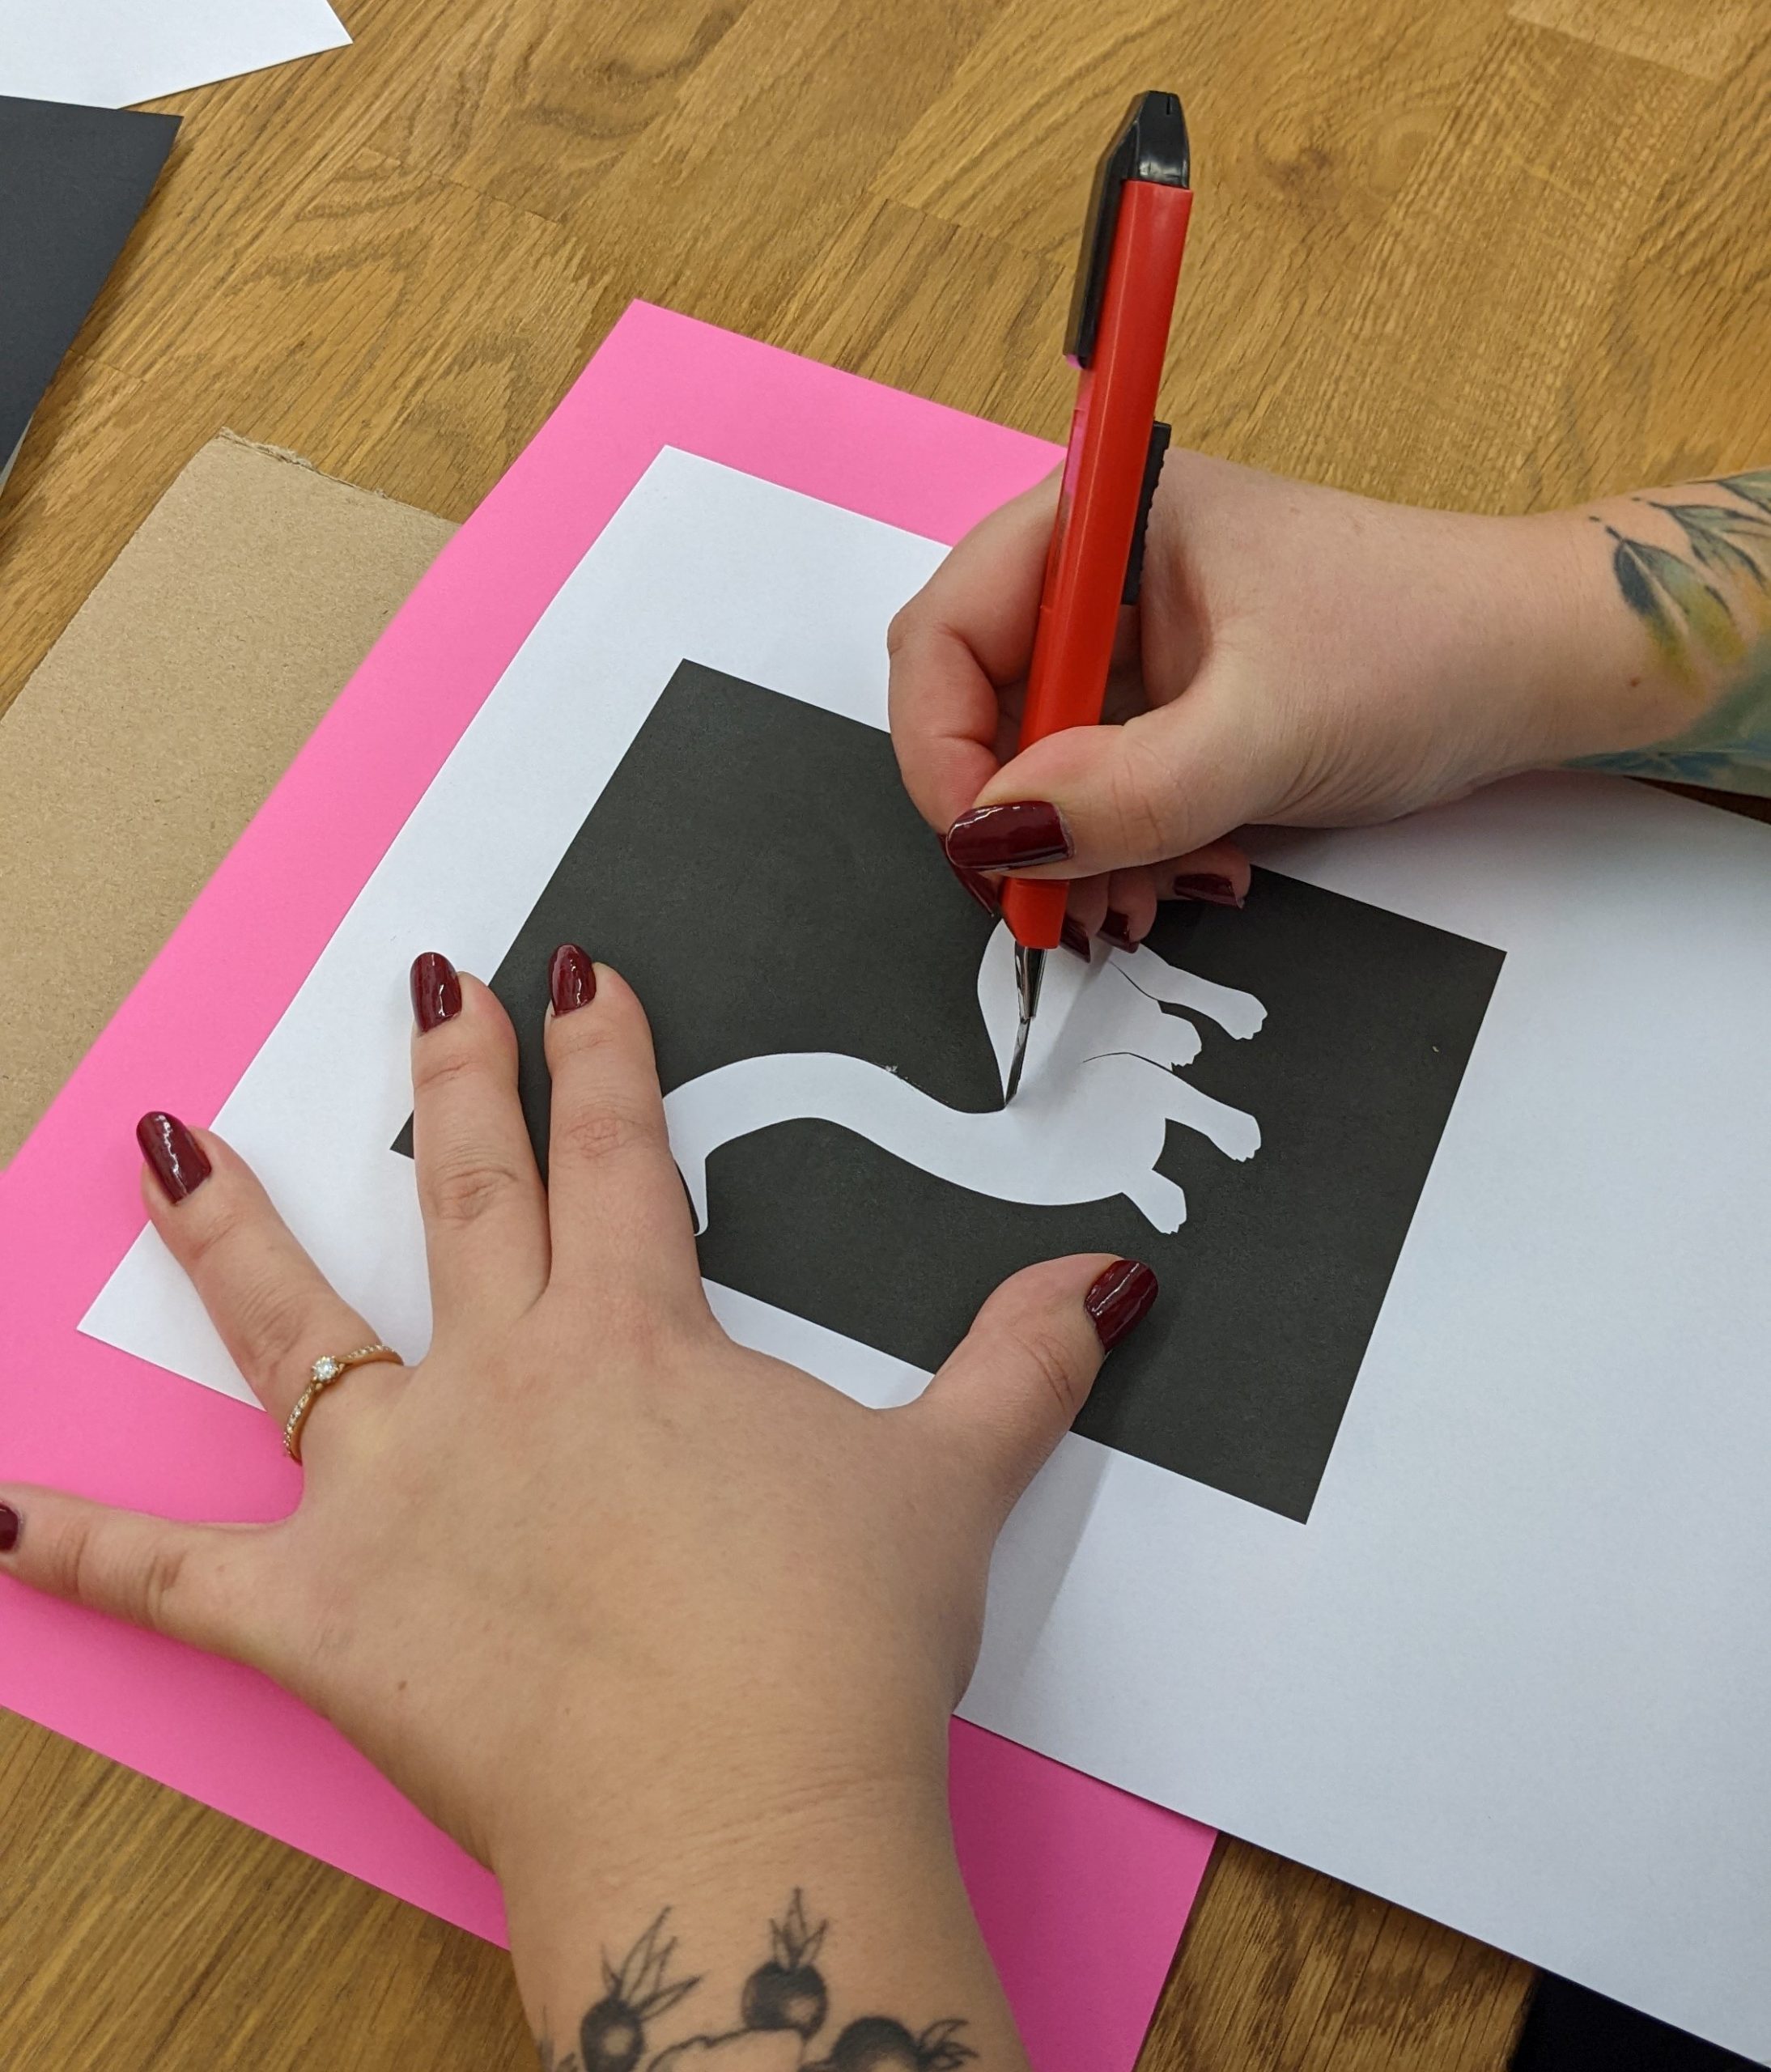
Place the paper down and, if needed, cut along the long side to shorten the high of the lantern. If you want a high lantern, leave the paper as it is. You can choose two methods to create the windows for the lantern: Either you draw a shape on the paper yourself and cut it out or you directly print a design on the paper.
TIP: It is possible to use scissors to cut out the windows, but a cutter allows sharper, more precise edges. Place the paper before cutting with a cutter on a surface that you deem safe (e.g. cutting board or carton)
TIP II: If you don’t have a printer, that’s all right: Pick your favorite digital design and scale it to the size you need (e.g. “ctrl” and “+”/”-“). Then, tape a sheet of paper on the display. The design should be visible through the paper – tracing it should be easy now!
We at upjers of course chose our favorite, printed designs:
Uppy the Bunny
The Brachiosaurus from Dinosaur Park: Primeval Zoo
2. Design your lantern
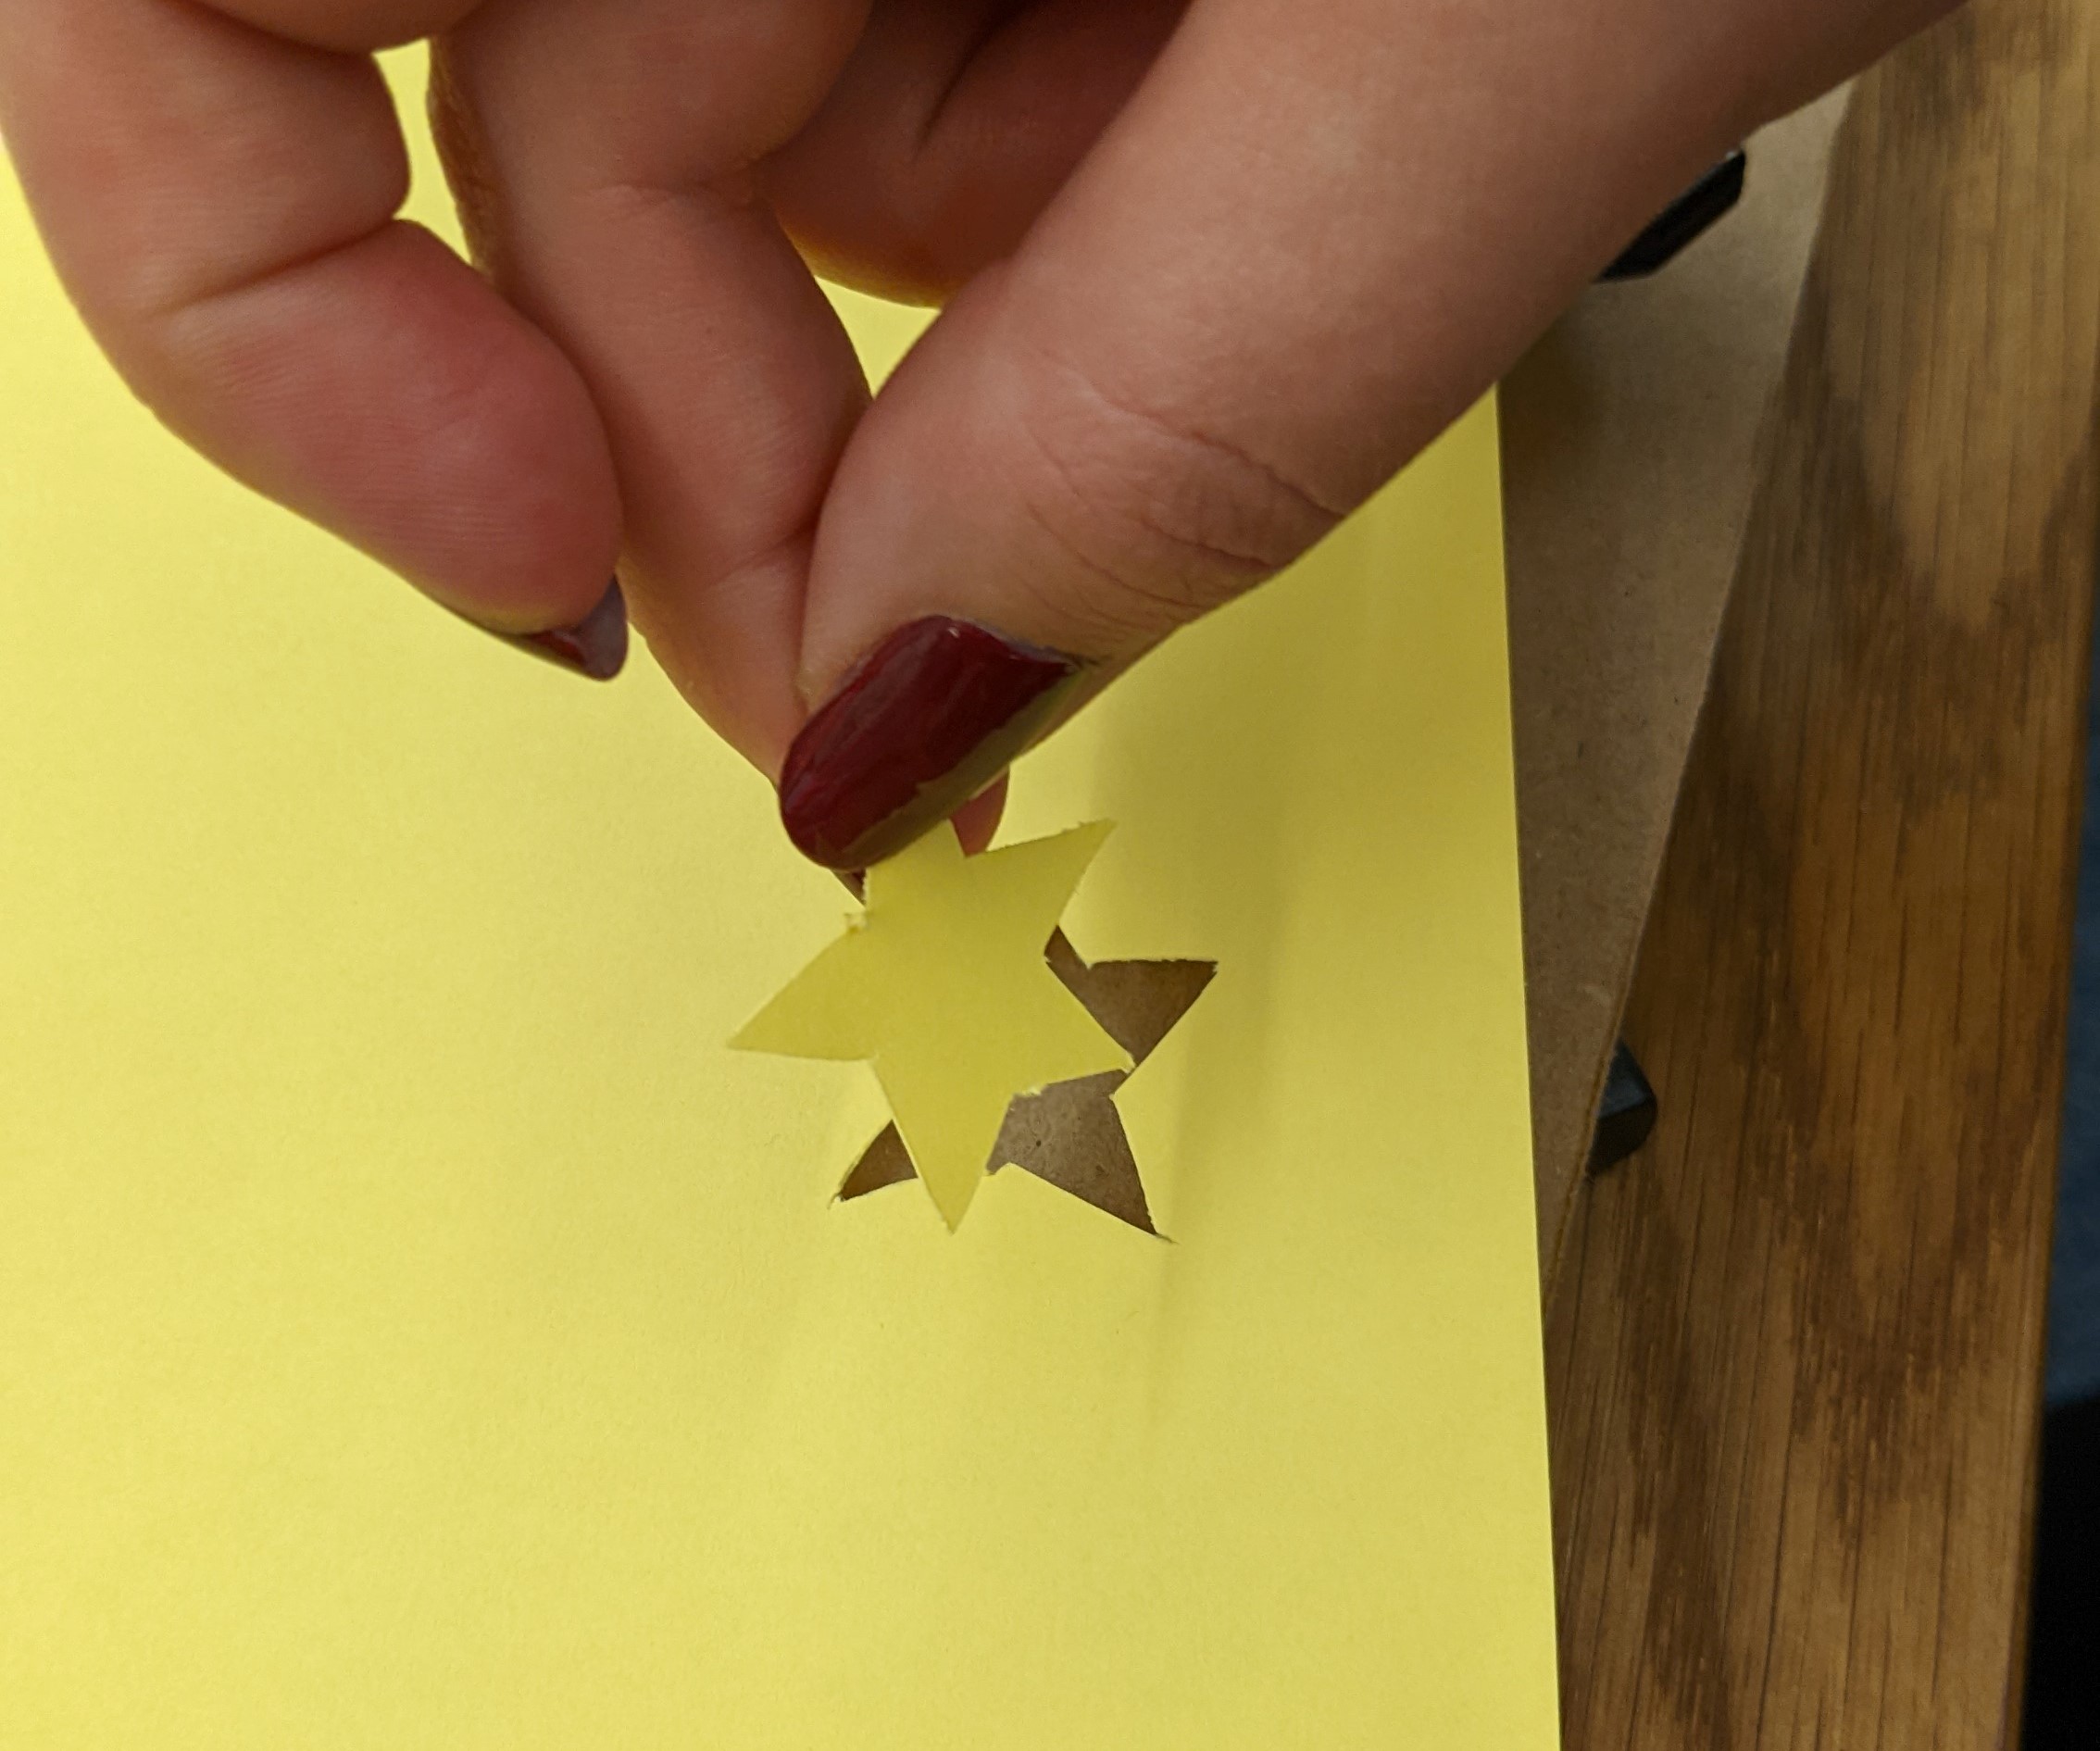
No matter if colored pencils, paint, sticker, or glitter – Let your inner artist come out! We chose a darker design with cut-out red stars, that we glued onto the lantern.
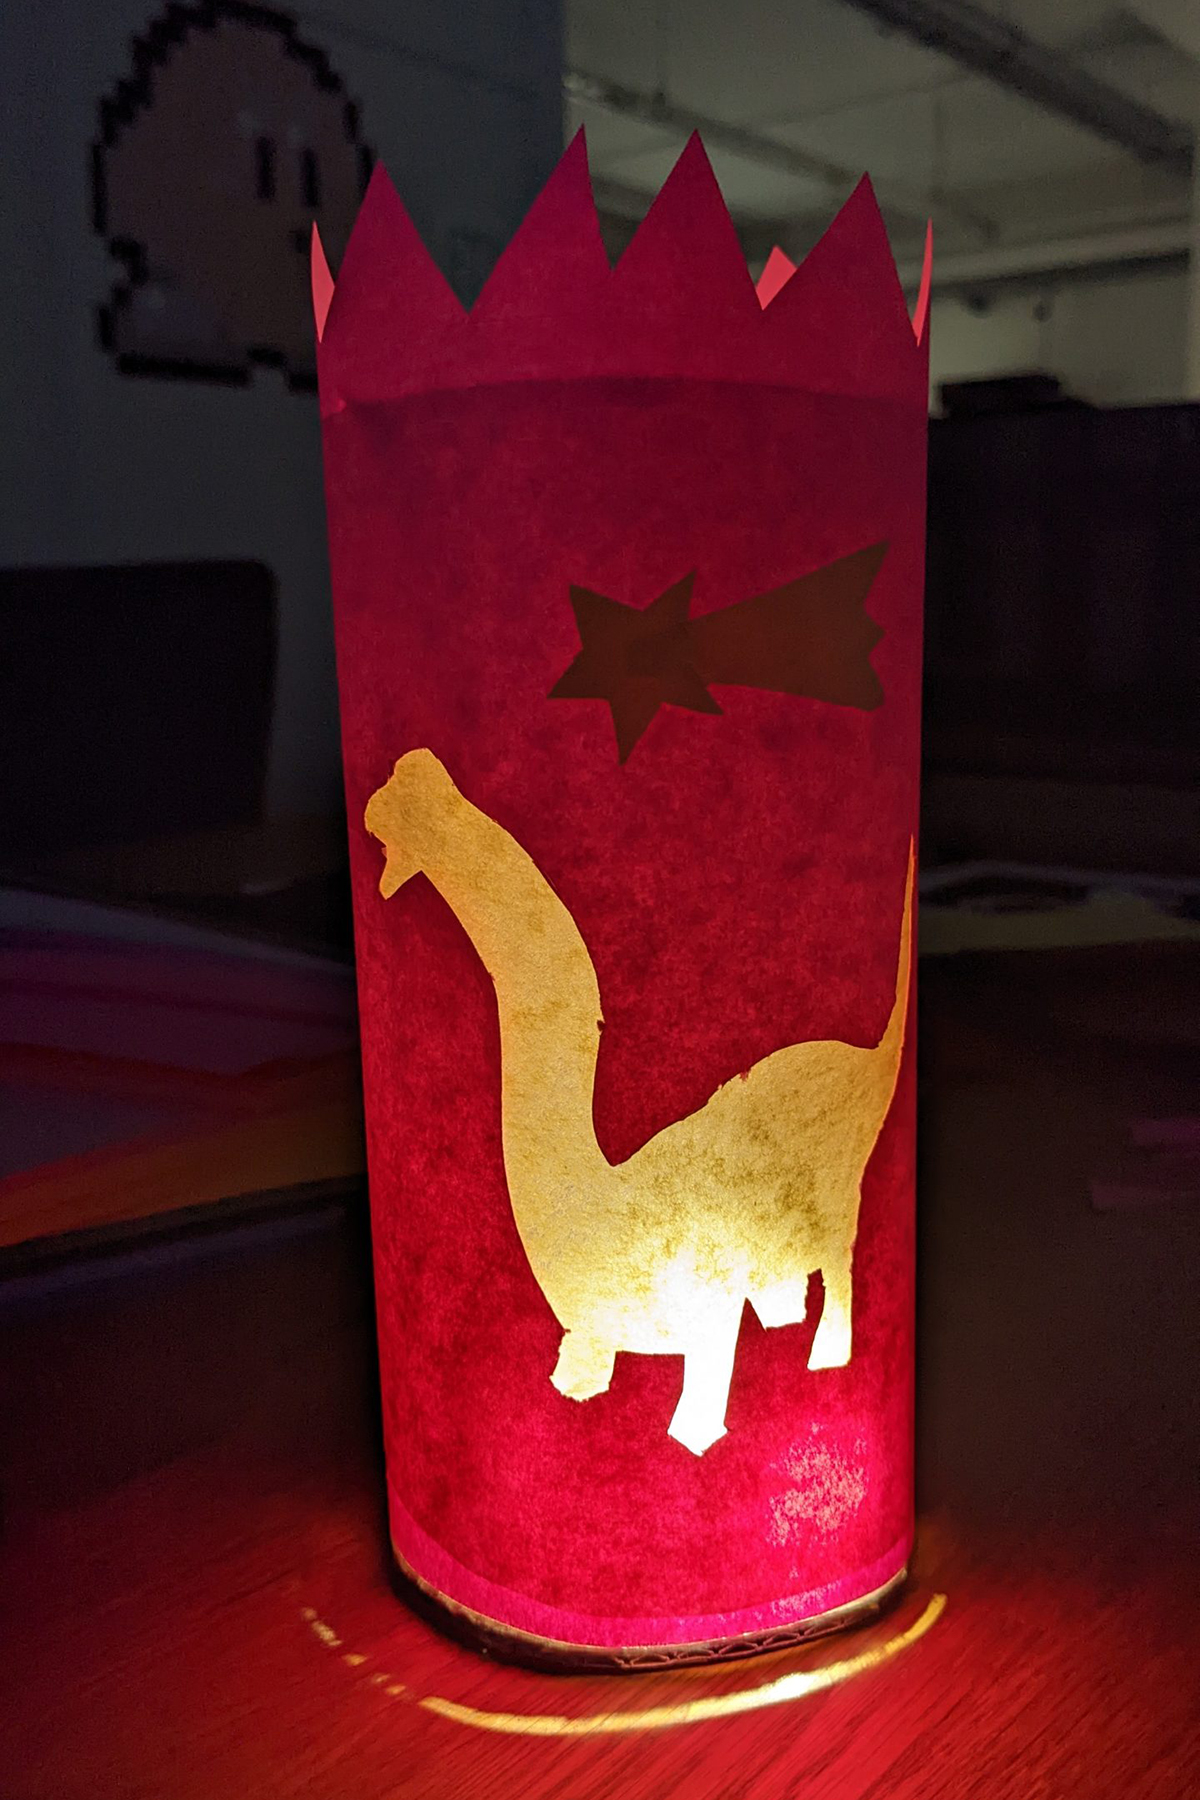
3. Stick the Parchment Paper to the Lantern
Make sure to glue it to the side, which will be on the inside of the lantern. You can do that with a glue stick as well as tape. Depending on the size, you can also cut the parchment to the size of the windows.
Roll up the lantern paper to the desired width and glue/tape the ends together. Place the lantern upright on a piece of carton, trace the opening and stick the cut-out circle to the bottom of the lantern. This will act as a protective layer and ease the transport of the lantern with the tealight inside.
TIP: If you roll up a regular-sized sheet of paper, the lantern will fit exactly one tealight. If you want a wider candle/lantern, just use a second sheet and cut it to the same size as the first one. Stick it together like an extension, roll it up to the desired width, and tape the ends together. Make sure that no loose parts are sticking into the inner side of the lantern, as it could easily catch fire.
4. Place the tealight inside
This step is pretty self-explanatory but we still have some tips we would like to share:
TIP I: Drip a little bit of wax in the middle of the bottom disc and place the tealight on the still liquid wax. That way the tealight won’t move if you decide to replace the lantern!
TIP II: If you don’t have a long lighter on hand, don’t despair; Light up the end of a single spaghetti and use it like a long matchstick! It burns very slowly, the burnt end can be broken off and the rest of the noodle can still be used.
TIP III: Imagine the lantern not only provides warm glowing light but also fills the room with your favorite fragrance! Just a couple drops of essential oil of your choice into the liquid wax will fill your room and create a cozy atmosphere. If you don’t want to buy the oil extra you can also get scented tealights instead.
Have a look at our Pinterest page for more DIY inspiration! Please also share your lanterns with us on Instagram with the hashtag #StMartinUpjers, we’d love to see your beautiful creations!
Share


Share